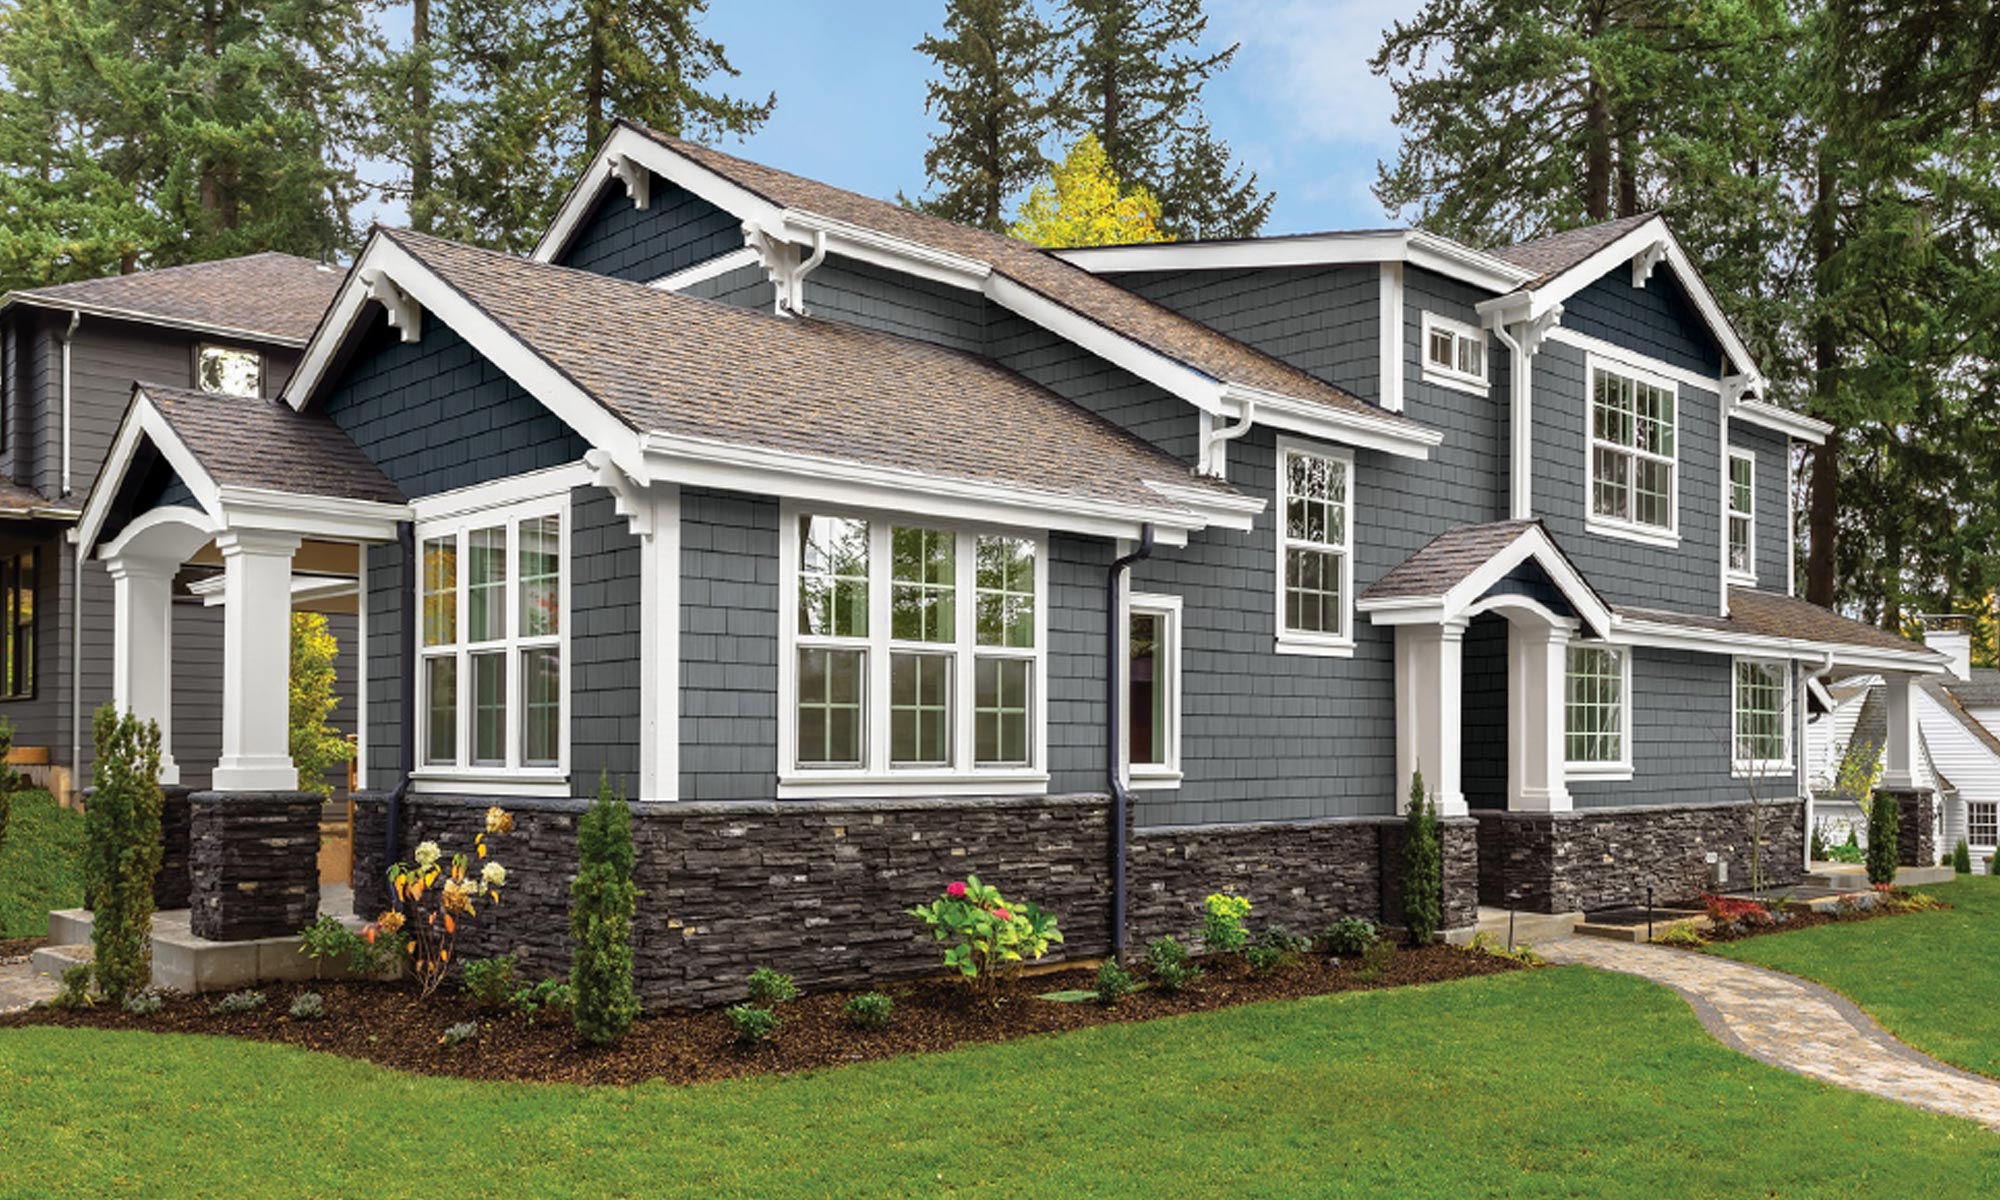
Nothing accents a home quite like trim. It can help create a bold frame for a modern look or offer a decorative touch to tie a more traditional aesthetic together. While white trim is often a popular choice, painting cellular PVC trim can make a statement for the perfect exterior addition.
Cellular PVC trim typically comes manufactured in a white substrate. But while easy, it’s not the hue every homeowner wants nor every home needs, so achieving the preferred look will require you to paint. Different types of trim react differently to different coatings, and there are also some best practices for painting cellular PVC trim to keep in mind.
PVC vs Cellular PVC Trim
When most people think of PVC, they’re thinking of rigid PVC, which is commonly used in commercial and industrial applications for things like pipes, doors, refrigeration, and tanks. It’s less flexible than other formulations and is commonly known as UPVC, PVC-U, and uPVC (the “U” standing for “unplasticized”).
Cellular PVC, like Royal® Trim and Mouldings and Kleer® from Westlake Royal Building Products™, is an expanded PVC that is ideal for creating shapes. It’s less dense, more flexible, and more moldable than rigid PVC, making it more economical and able to replicate the looks and profiles of wood. It’s also durable, waterproof, low-maintenance, and resistant to dents, scratches, splitting, and warping.
Choosing Paint for Cellular PVC Trim
It’s crucial to select the right coating for cellular PVC trim to ensure it lasts as long as designed. When painting the trim with a color with a light reflective value (LRV) of 57 or above, a high-quality 100% acrylic latex or acrylic blend paint is recommended. For darker colors with an LRV of 56 or lower, it’s crucial to opt for an approved solar reflective coating (such as Sherwin-Williams VinylSafe or Benjamin Moore Colors for Vinyl) to avoid any heat distortion, warping, or buckling over time.
Best Practices for Painting Cellular PVC Trim
When painting cellular PVC trim, there are a few best practices to follow and details to be aware of.
- Remember that painting cellular PVC trim is different from other materials. Paint adheres to cellular PVC much better than materials like wood. Wood has a 6% moisture allowance, which means it will need to be repainted after three to five years. Cellular PVC trim, however, won’t need to be repainted for upwards of 20 to 25 years if the right paint is chosen and the PVC is prepped properly. Since cellular PVC doesn’t absorb moisture, most coatings will be dry to the touch within an hour or less, but may take 30 days to fully cure (depending on humidity and temperature).
- Prep the trim. Always clean cellular PVC trim before painting to remove any dust, dirt, or other foreign material. Because some cellular PVC can have a high sheen, lightly scuff the surface to help improve paint adhesion. Priming isn’t necessary; however, the finish quality is greatly enhanced if you use a premium 100% acrylic latex paint for trim with a built-in primer. In addition, a primer may be required under the paint manufacturer’s warranty. If you do use a primer, make sure to follow the same LRV limitations, as some primers can be dark and can create heat distortion issues.
- Paint after the trim is installed. While trim can be painted prior to installation, doing so will necessitate touch-ups around fasteners. Painting after installation can help avoid repetitive touch-ups, and if the homeowner isn’t sure about color choice, installers can move forward with the job before the decision is made.
- Follow paint manufacturer’s instructions. Again, it’s important to select a solar reflective coating when using a 56 LVR or lower paint. Installers should also carefully read and follow the paint manufacturer’s instructions as they can offer additional insight on coloring and coating requirements.
PVC Trim from Westlake Royal Building Products
Following these simple guidelines for painting Royal and Kleer cellular PVC trim can help ensure a look that lasts.
Royal Trim & Mouldings come in a variety of shapes and styles, offering virtually endless ways to transform the exterior of a home. Options include S4S Trimboard, Conceal Trim System, SurEdge Trimboard, Prefinished Trim, Precision Cut Trim, and Garage Door Trim.
Kleer cellular PVC trim products are a beautiful, sustainable alternative to wood. Their TruEDGE feature protects against dirt intrusion with a finished edge on all sides.
To see how Westlake Royal Building Products can bring your next exterior project to life, check out our online design tools or request a sample of Royal Trim & Mouldings or Kleer Lumber.


