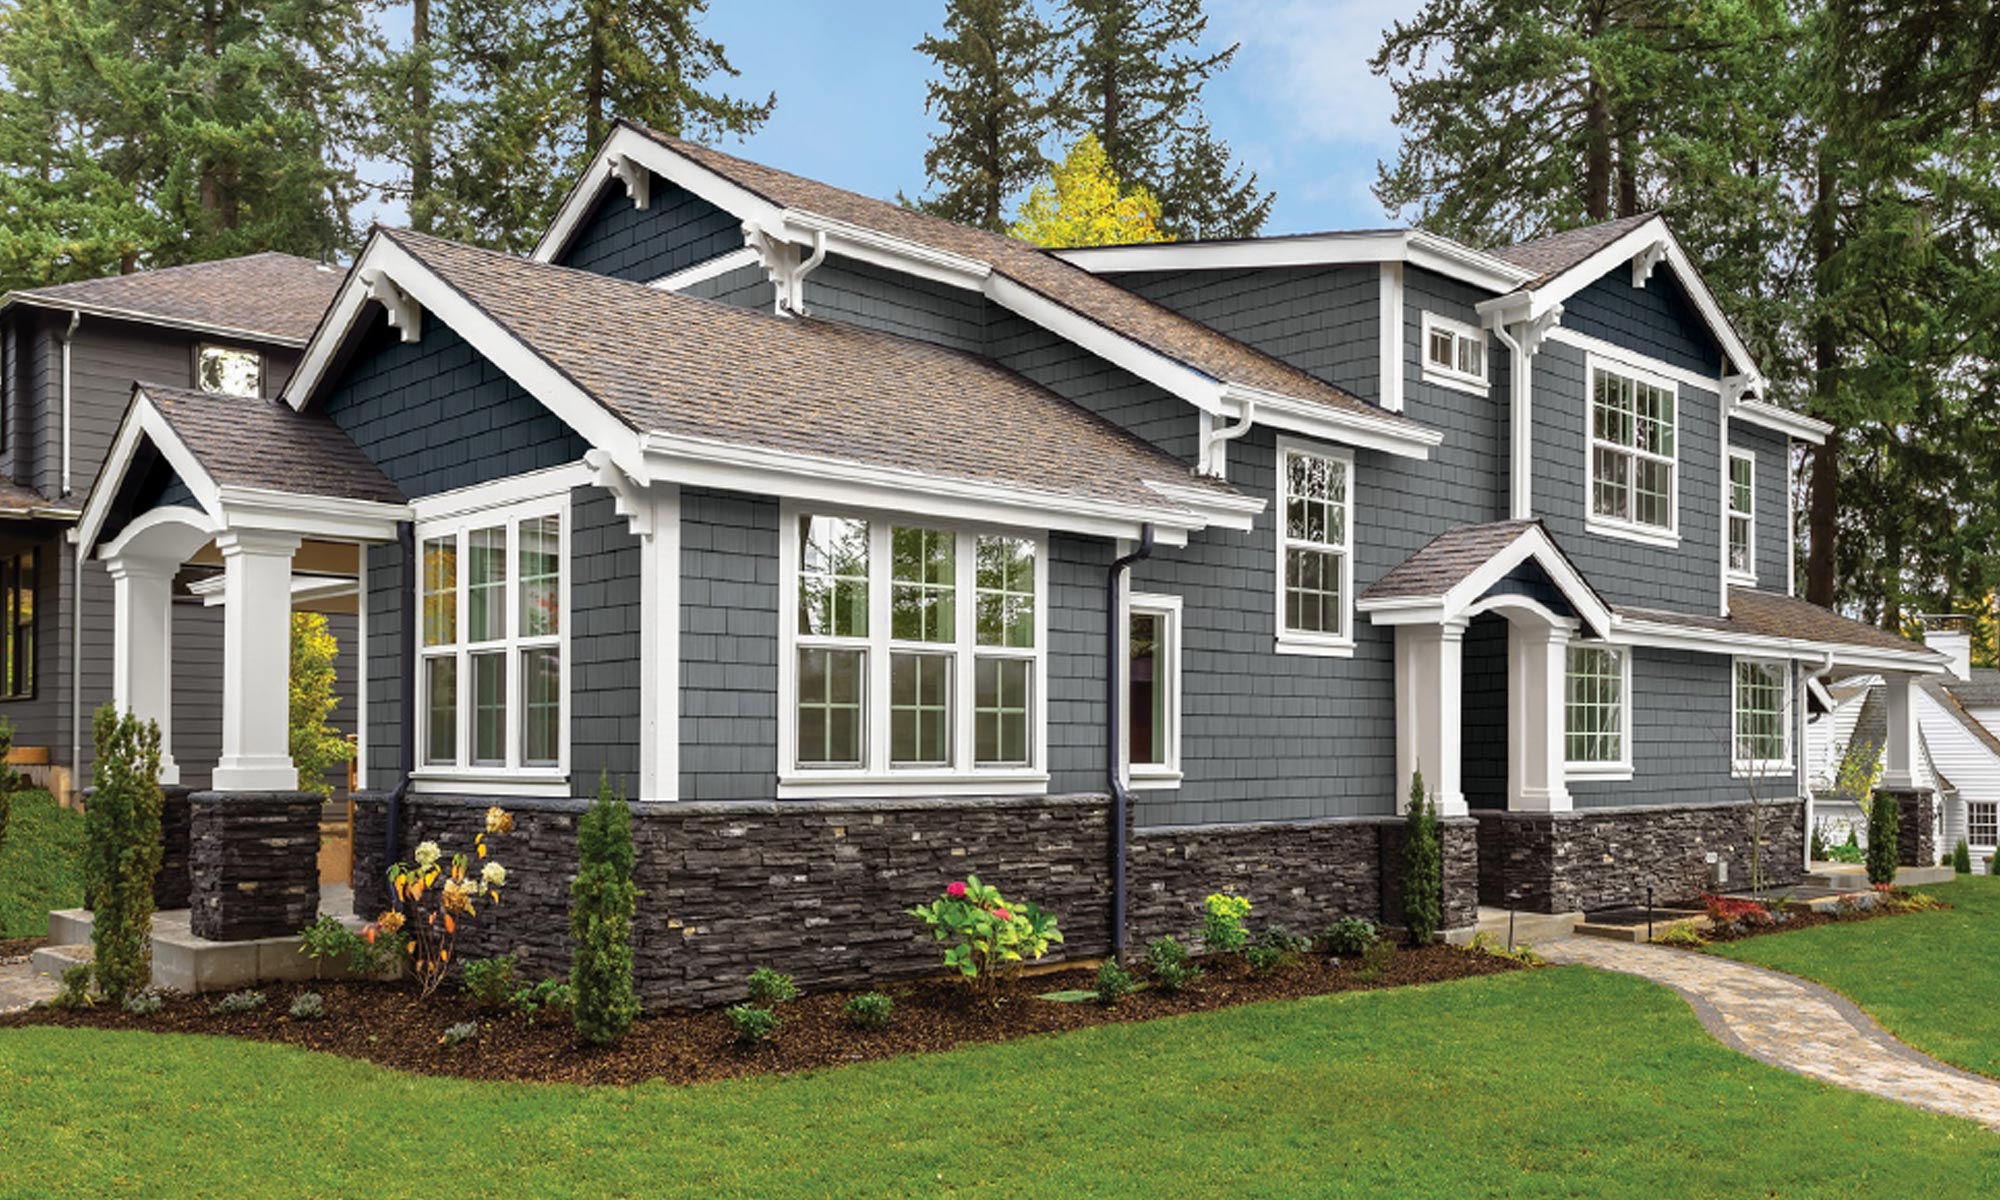
Trim and moulding are the often-unassuming heroes of the construction and design world. These seemingly minor additions can transform a space, adding character, elegance, and even functionality. In fact, 97% of real estate professionals say that moulding and trim affect the overall price of a home during a sale.
Of course, when it comes to trim and moulding, even the professionals have questions. Here are a few of the most common questions we get asked.
Trim and Moulding FAQs
Is Westlake Royal® PVC Trim Solid or Hollow?
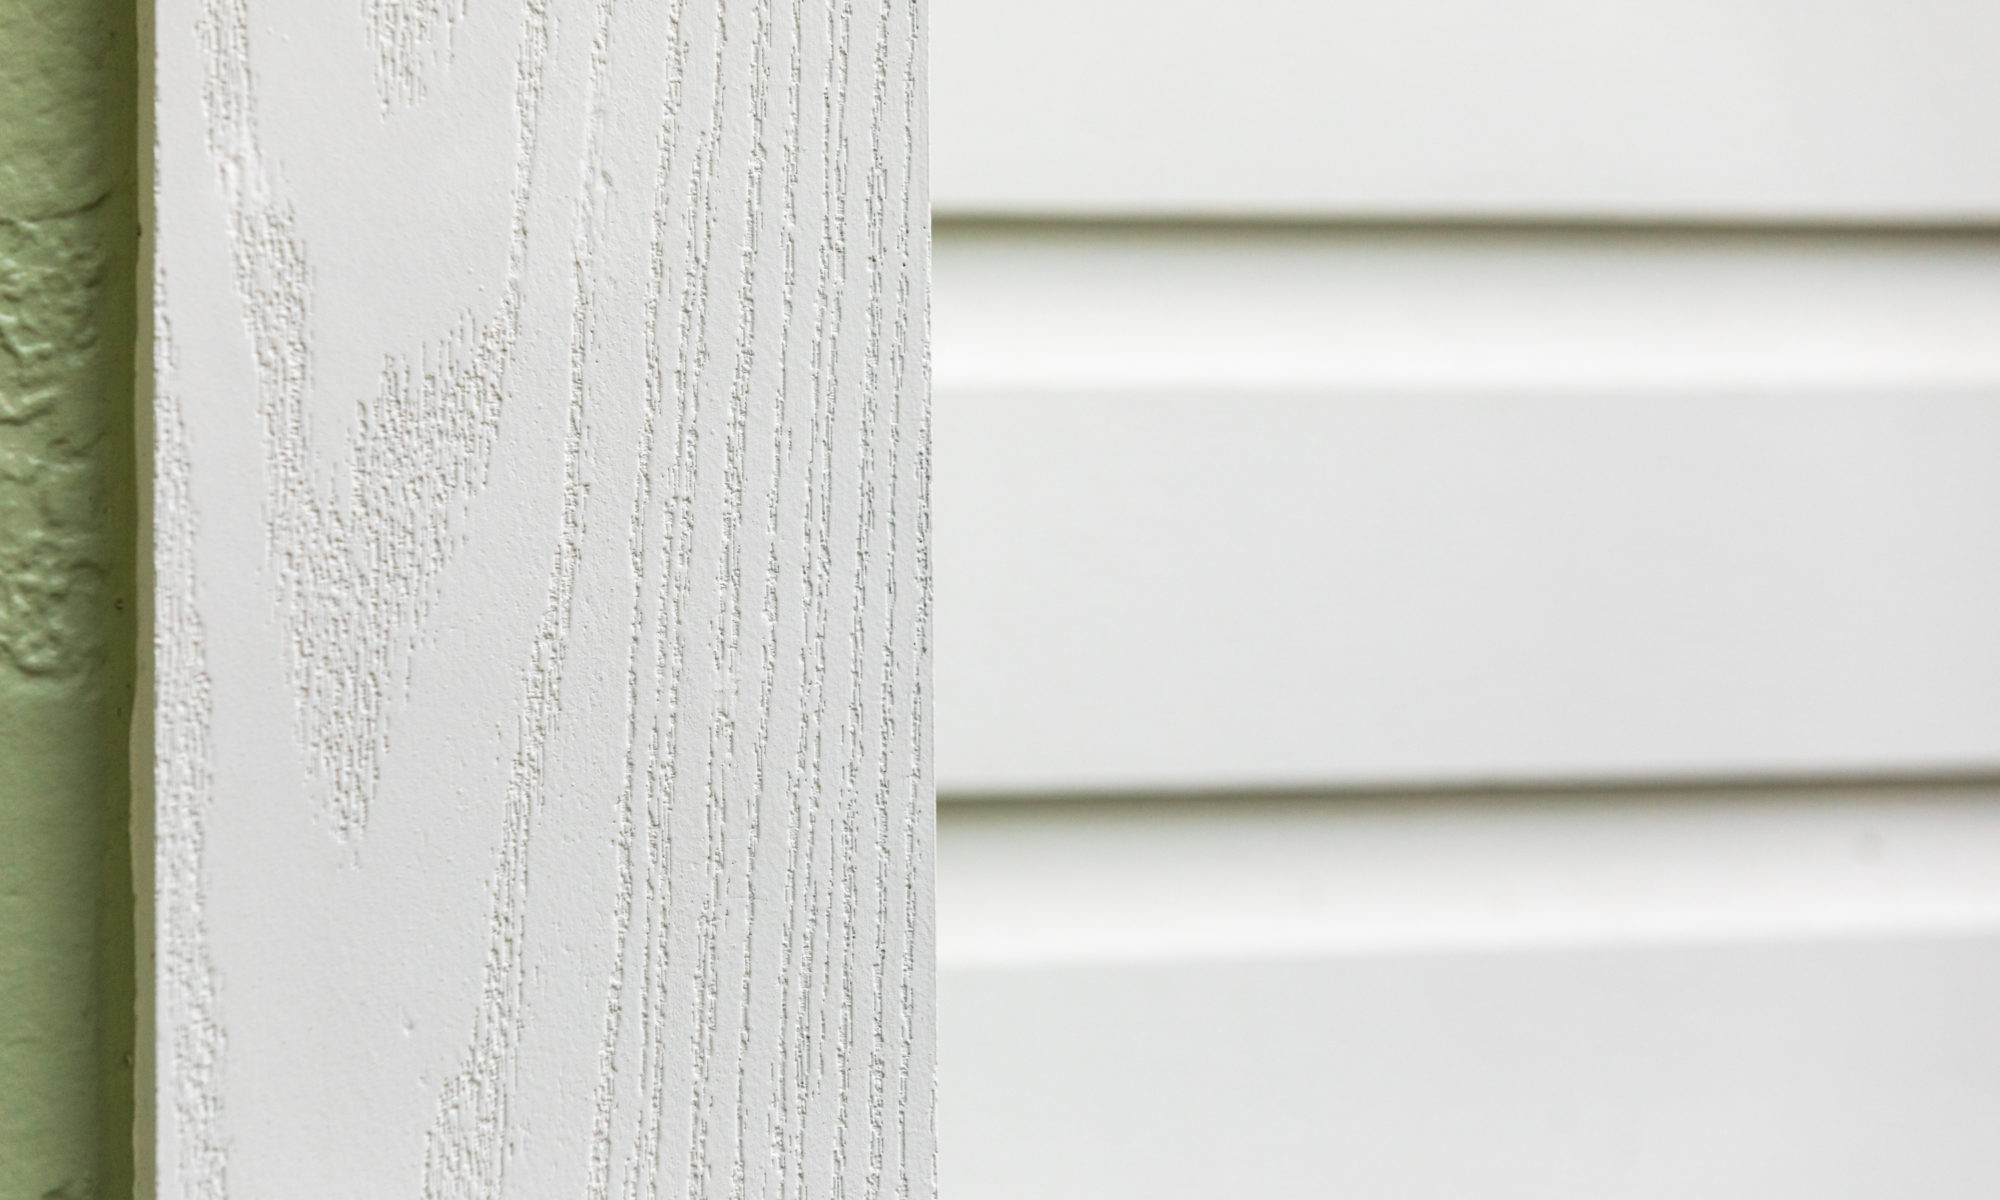
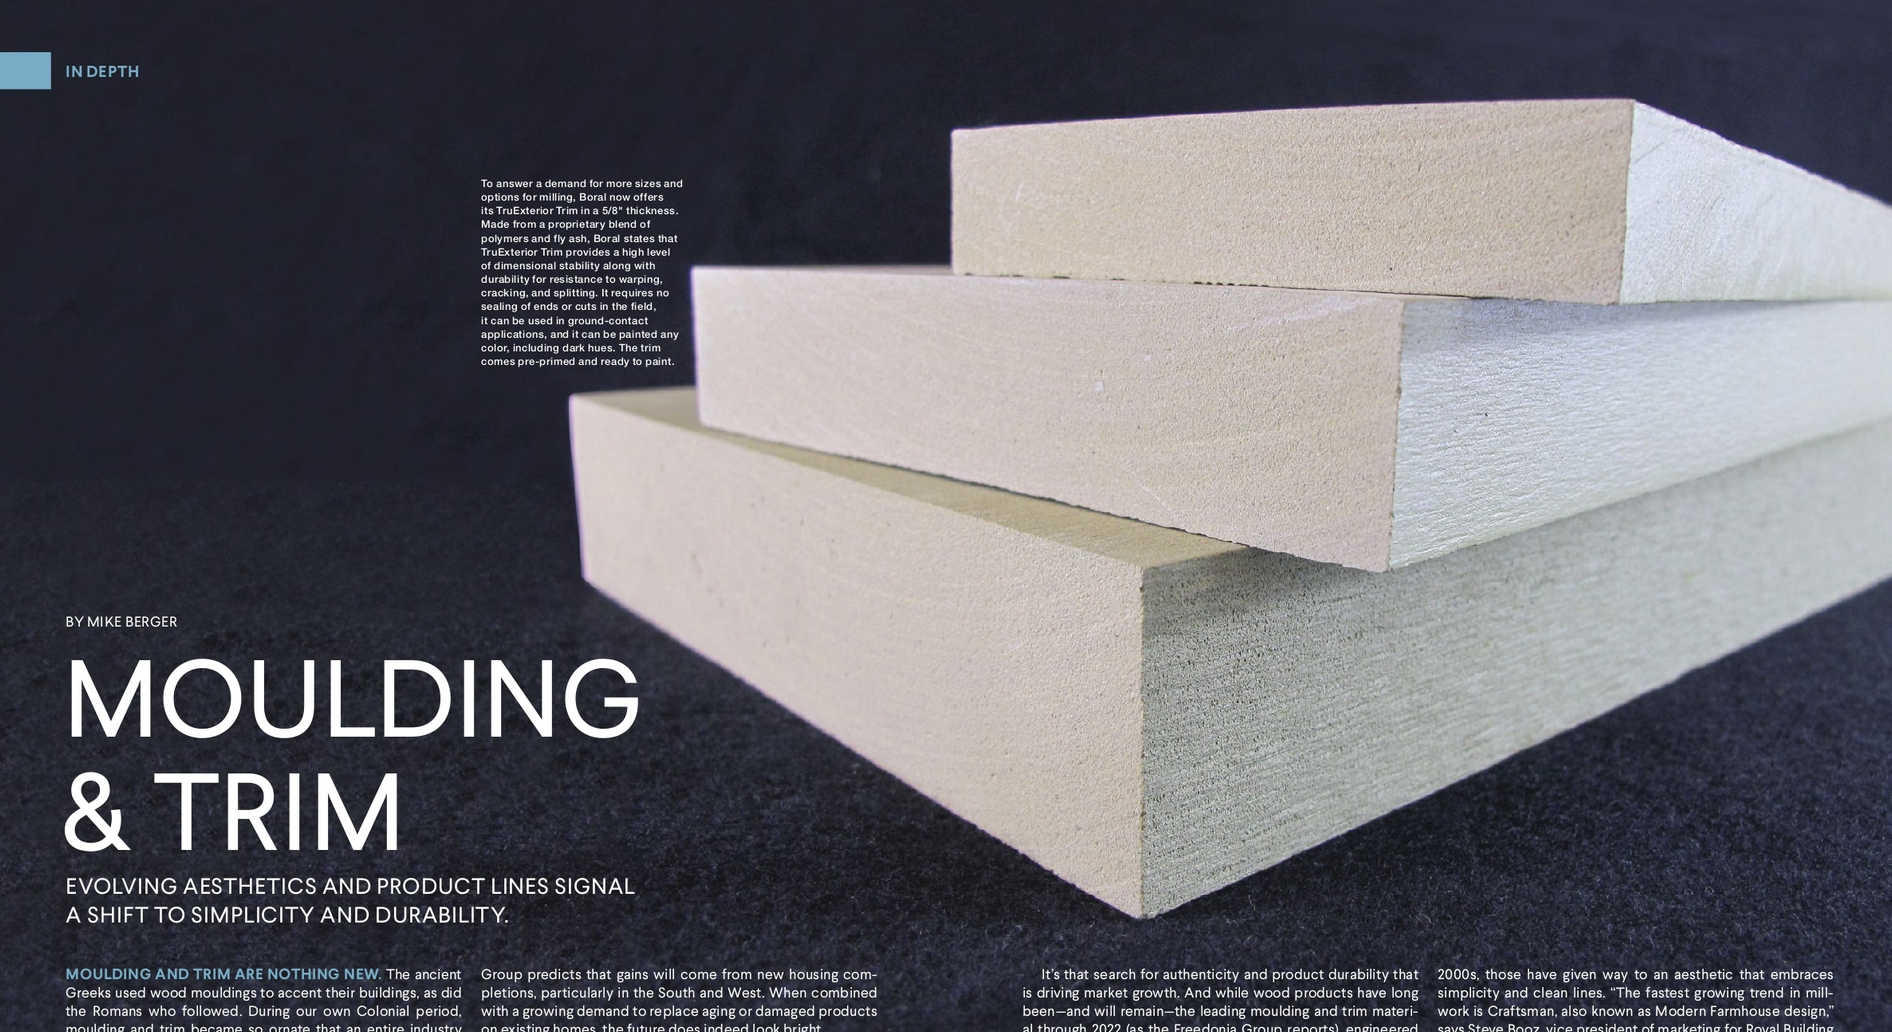
Cellular PVC is a solid extrusion that’s waterproof, insect-proof, and easy to use. The term “cellular PVC” refers to a process and type of polyvinyl chloride that has microscopic air cells inside. The process makes this type of PVC less dense and more flexible than the PVC you see in plumbing pipes, making it more suited to trim applications.
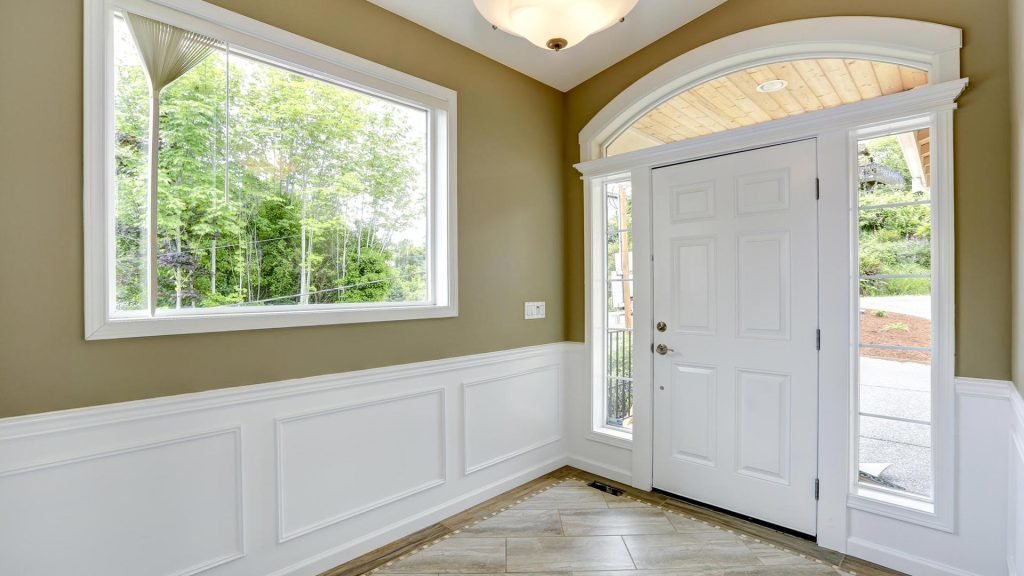
Can I use interior mouldings outside?
Many interior mouldings can also be used outside, but not decorative woodgrain non-vinyl laminated interior mouldings. Westlake Royal Building Products™ offers a variety of cellular PVC and vinyl-wrapped PVC trim moulding that can be used for both interior and exterior applications. Always check with your manufacturer when trying a new trim product.
Can Westlake Royal’s cellular PVC trim moulding be painted?
Our trim comes in white, one of the most popular options for trim. But if other hues are desired, our cellular PVC trim is paintable. Check out our blog on painting PVC trim to learn more.
Can PVC be stained?
PVC mouldings can be stained, but it takes a specialty coating, such as TruStain from AquaSurTech OEM or AWP SPQT Stainable Primer Wood Base Coat for Hard Surfaces. Our warranty does not cover the product with applied third-party coatings, so be sure to follow the stain manufacturer’s recommendations. We also recommend you thoroughly research the coatings you intend to use with PVC.
The same limitations for coatings concerning light reflective value (LRV) on cellular PVC apply to stain, especially for exterior applications.
How do you clean and remove scratches from PVC trim moulding?
Cellular PVC is durable for standing up to exterior elements, but of course accidents sometimes happen during installation. If the scratches aren’t too deep, an all-purpose cleaning agent and a melamine foam sponge or non-scratch scrubbing sponge can often remove the scratches. A rubbing compound such as Turtle Wax can also be used on surface scratches.
Buffing them out may take some time, depending on the severity of the scratches, so be sure to take that into account. Be sure to also clean the trim after buffing.
How do I remove the product description paper label from the trim or moulding?
Use a dissolving product, following the manufacturer’s instructions. We typically recommend De-Solv-It Citrus Solution or Turtle Wax Label and Sticker Remover. If either of those is not available, you can soak the product in surface cleaner, gently scrape the sticker off with a plastic putty knife, and use rubbing alcohol to remove any leftover residue.
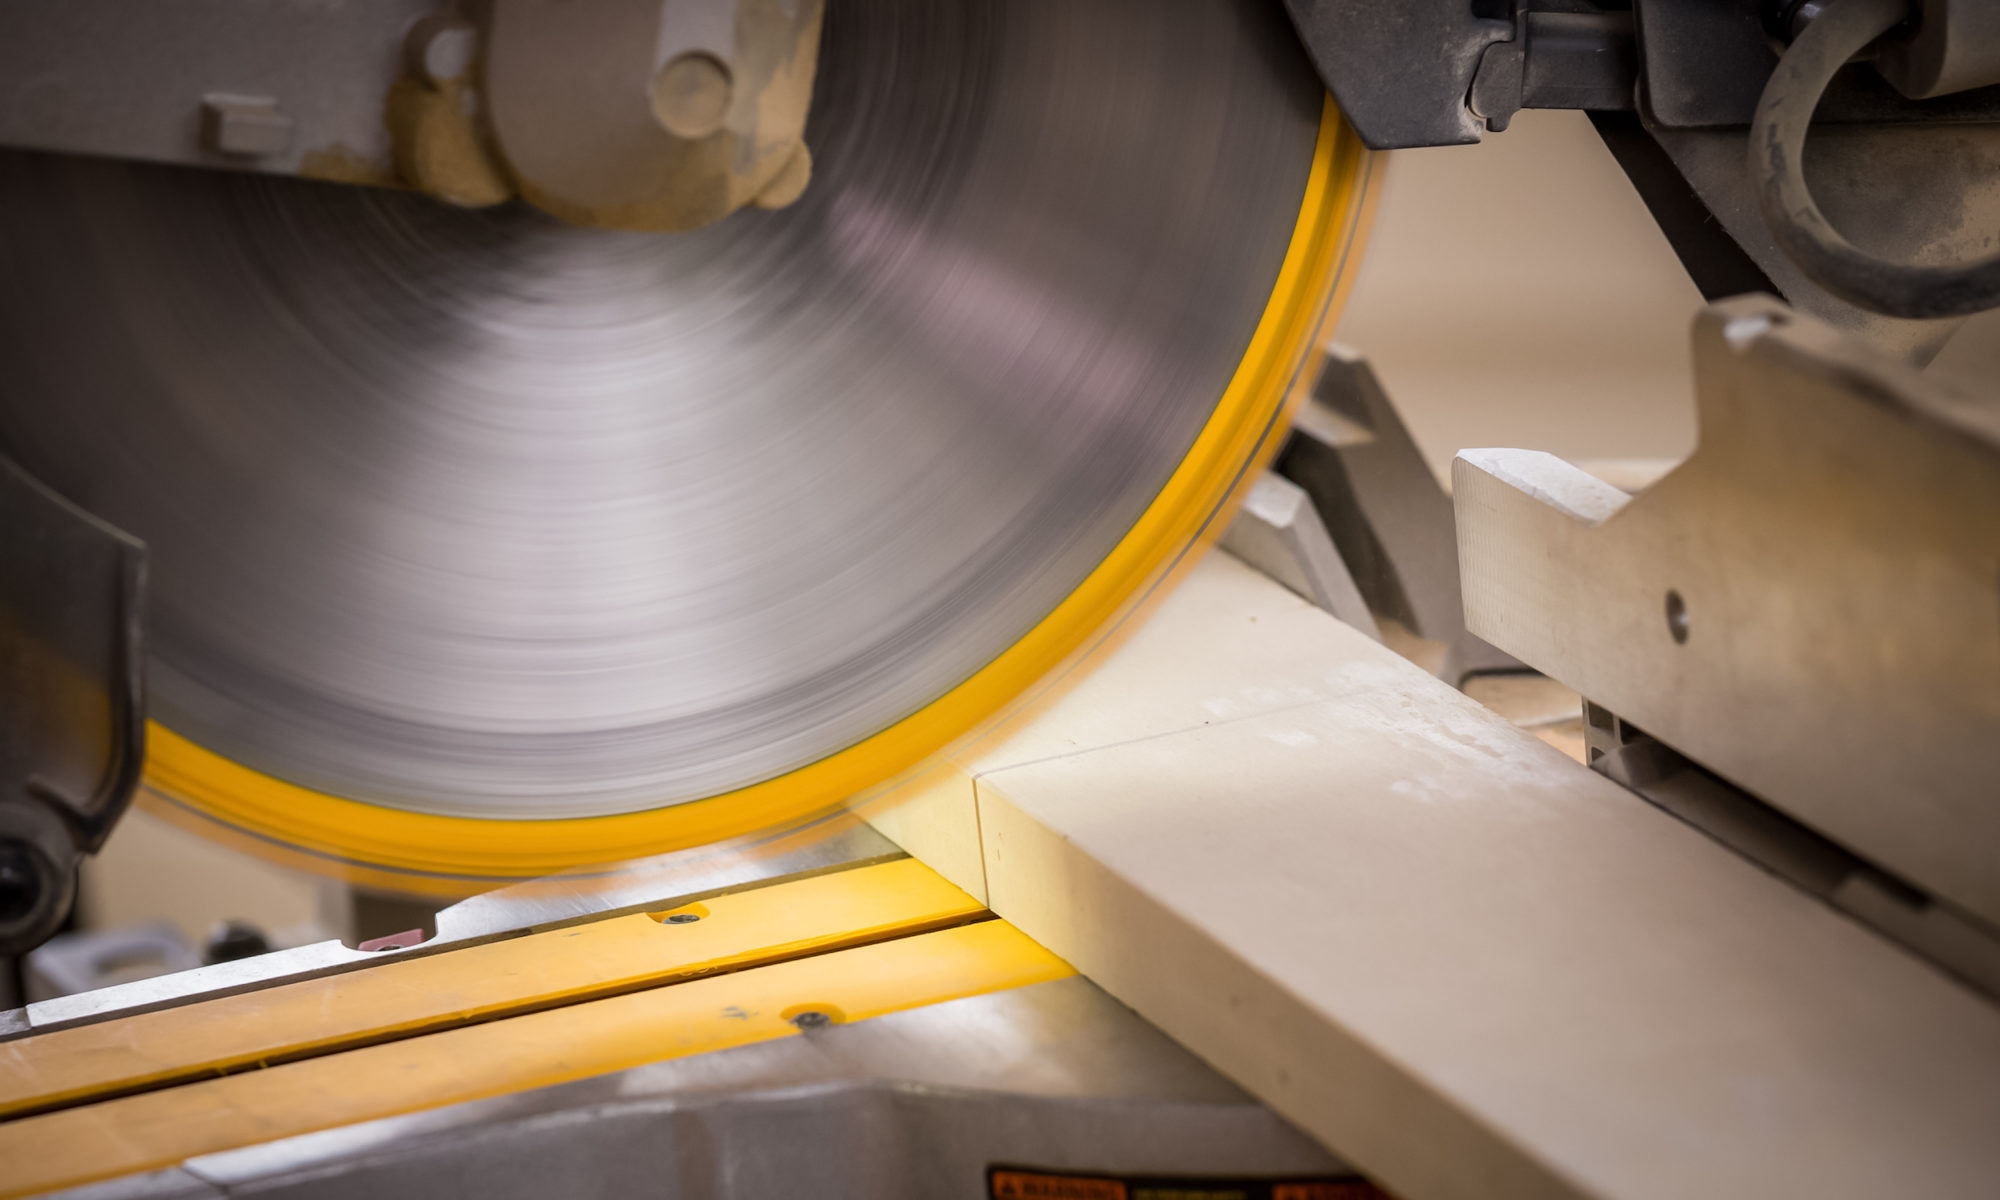
What do you recommend for cutting trim and mouldings?
Royal® Trim & Mouldings should be cut with a carbide-tipped blade with 80 teeth or more. To reduce excessive build up on the blade, you can lightly spray it with cooking spray or furniture polish; however, it is important to note that you should not spray the mouldings directly, which can affect paint adhesion. Cellular PVC can be cut with typical saws and blades used for woodworking.
Are Westlake trim and mouldings bendable?
We do offer mouldings that are specially formulated for heat bending, but not all cellular PVC trim and mouldings apply. For example, Royal S4S Trimboard is not recommended for bending, but SurEdge and Precision Cut trim can be bent into a reasonable radius.
Cellular PVC is a thermoplastic polymer, which means it becomes pliable or bendable when exposed to certain temperatures, returning to a solid state when cool. Because of its nature, some cellular PVC profiles can be reheated and reformed; however, variations in batches, profile geometry, and density or weight of the profile mean some experimentation will be required to perfect this skill.
For best results, don’t bend any cellular PVC trim greater than 6” wide.
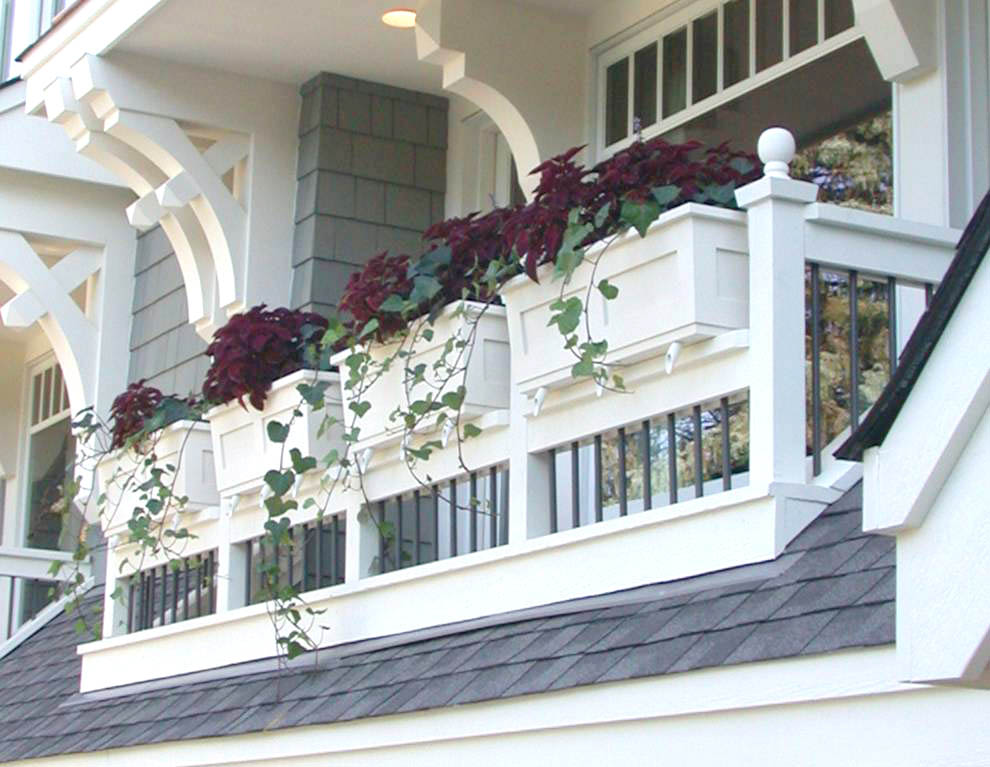
Is cellular PVC suitable for applications like raised garden beds?
With adequate construction techniques, yes, cellular PVC can be used for this purpose.
Can item 7311 1×6 trim board be used on garages as fascia board?
Yes, but keep in mind that 1×6 is a nominal size, with true measurement being ¾”x5-½”, so you’ll want to be sure that this size is wide enough for your application.
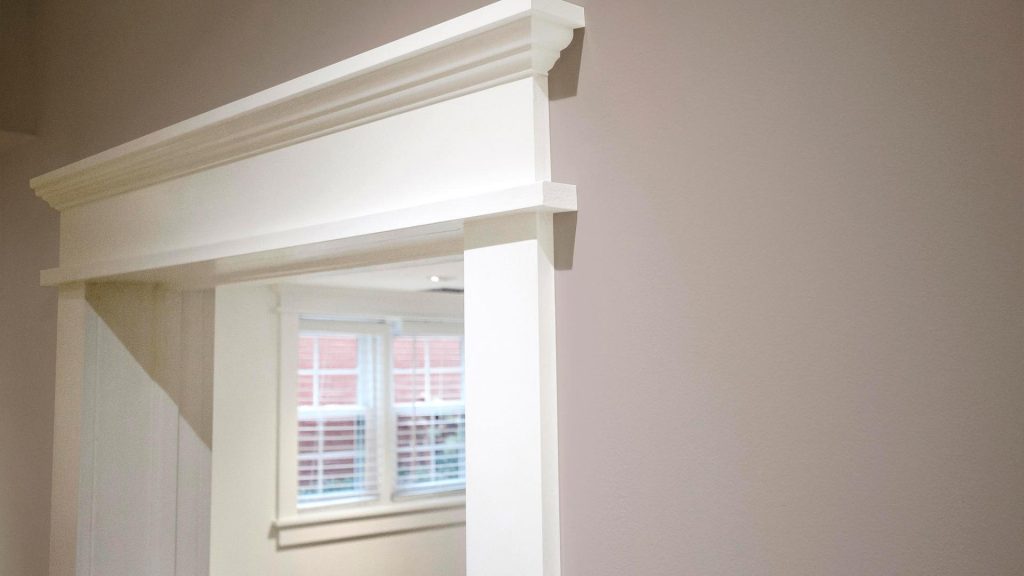
What recommendations do you have for placing 5523 Base over existing ¼-½ moulding?
Existing moulding needs to be removed before Base is installed; it can’t be placed over the previous moulding. Mechanical fasteners like 16- to 18-gauge nails or 6d or 8d should be used. Liquid Nails can also help keep the product glued to the wall.
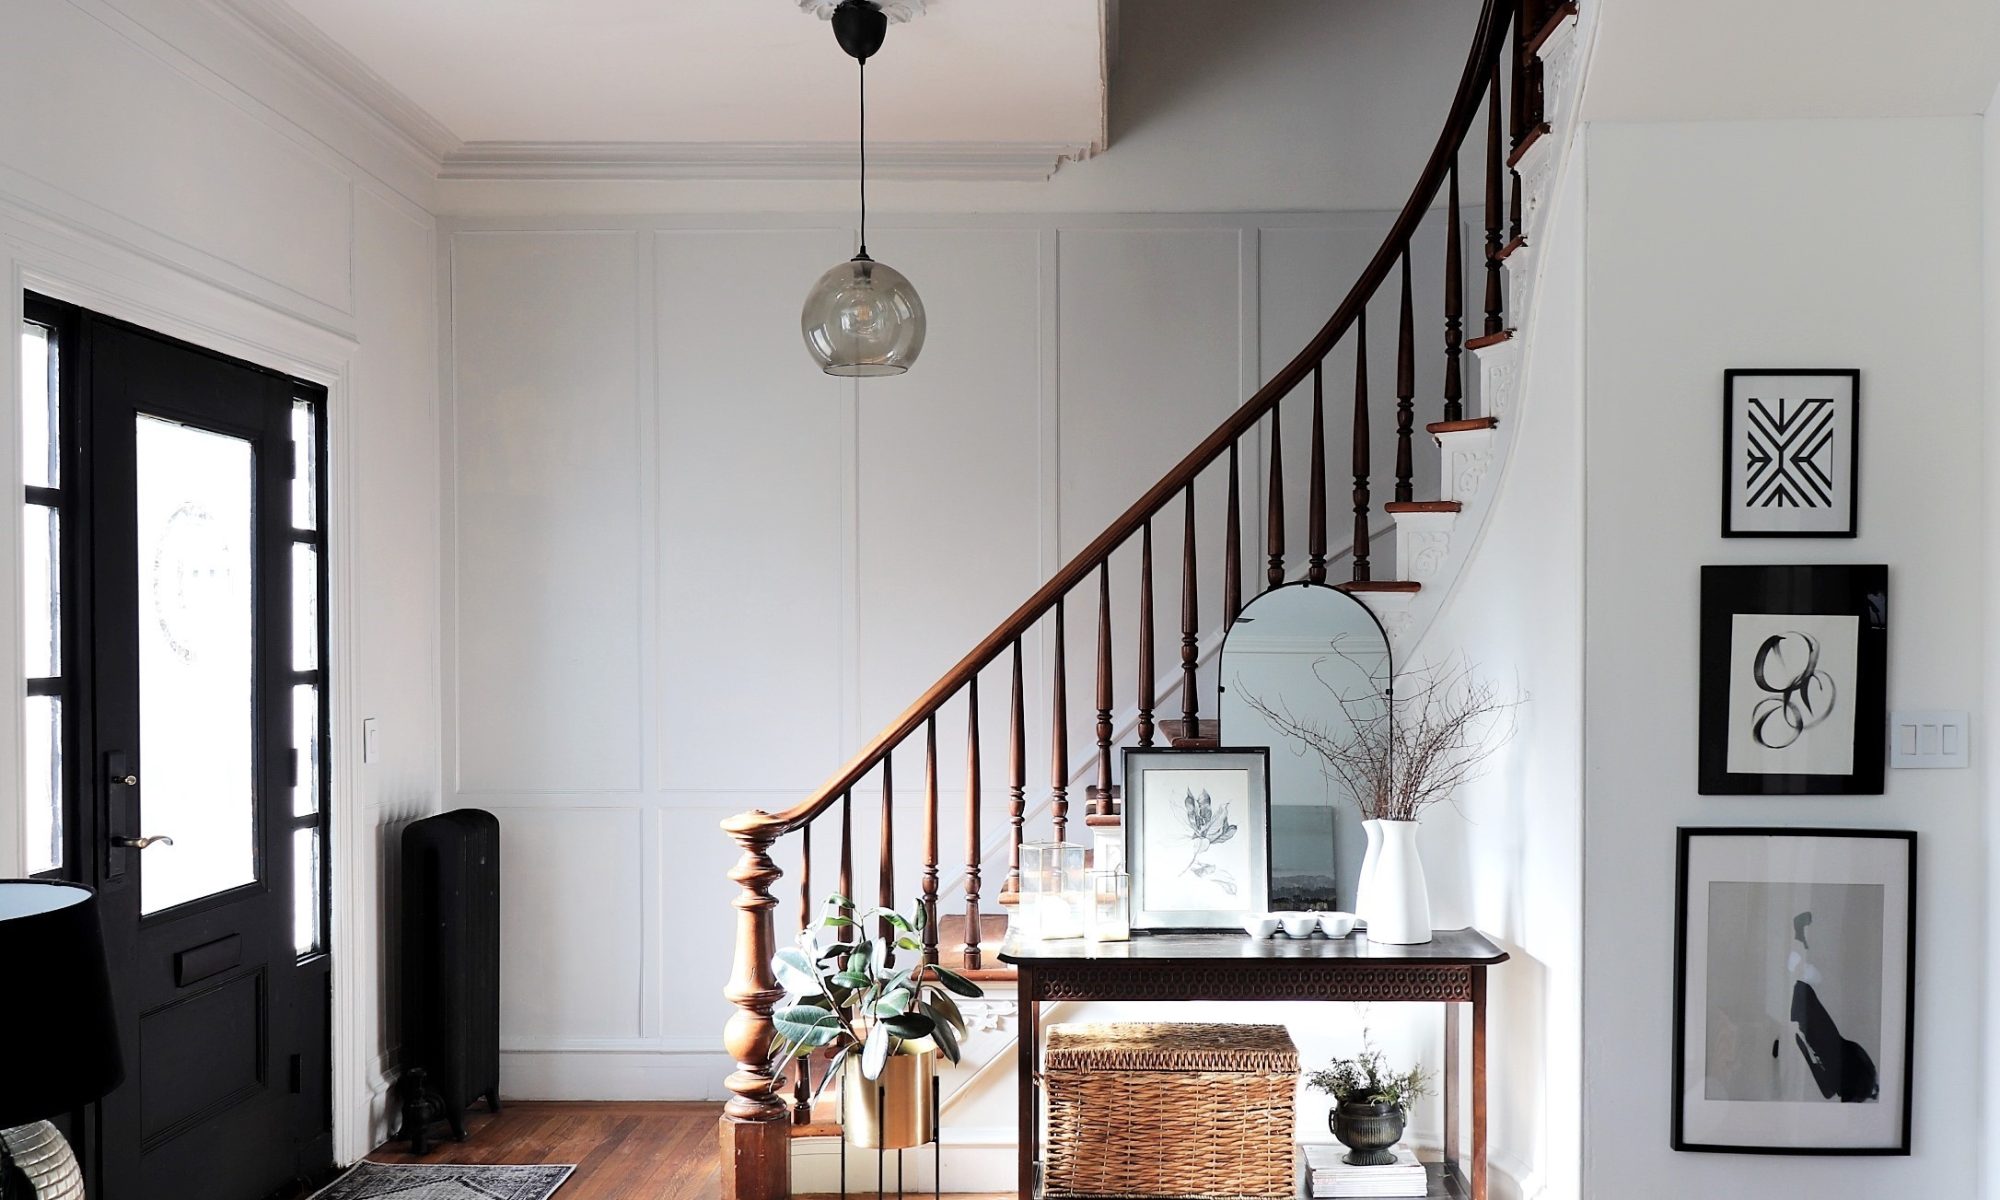
Is item 2450 Base Cap flexible enough for picture frame panel mouldings on a curved stairway?
This will depend on the radius of the curved stairway. Some trial-and-error will likely need to occur on the most curved area before deciding on how to finish out the application. This can work, but it will require some creativity.
Have more trim questions? You can reach our customer service team at 1-855-ROYAL85 or via our customer support form.
Ready to see how Westlake Royal trim and moulding products can add the perfect finishing touch to your project? Explore all our solutions.