
The exterior of any home is its first impression, introducing its unique style to any potential buyer or visitor. Peeling, faded, or streaked paint on the trim may evoke feelings of poor quality and can lower the curb appeal. Breathing new life into exterior trim with paint—and ensuring its fresh look lasts—is easy to do if you follow a few simple strategies.
Whether you’re installing new trim or rehabbing the trim of an existing home, consider these tips for an enduring appearance.
1. Prep the Exterior Trim for Painting
Before you grab a brush and start painting, there’s some essential prep work to do first. Start by taking a close look at all the exterior trim you’re going to paint. Make note of and fix any imperfections and problem areas. For example, if there are spots where old paint is peeling, scrape it off before putting on a fresh coat.
Next, pressure wash the areas you’re going to paint to remove dirt and debris. Be careful not to use too much pressure; if you notice damage to the surface, pull the nozzle farther back. Be sure to power wash every area you expect to paint, even if there’s no visible debris.
For the last stage of prep, fill any holes or gouges in the exterior trim with caulk (make sure the caulk is suitable for exterior applications and for the specific trim material). After you fill the holes, wait for the caulk to dry, and then sand off any excess until it is flush with the rest of the trim.
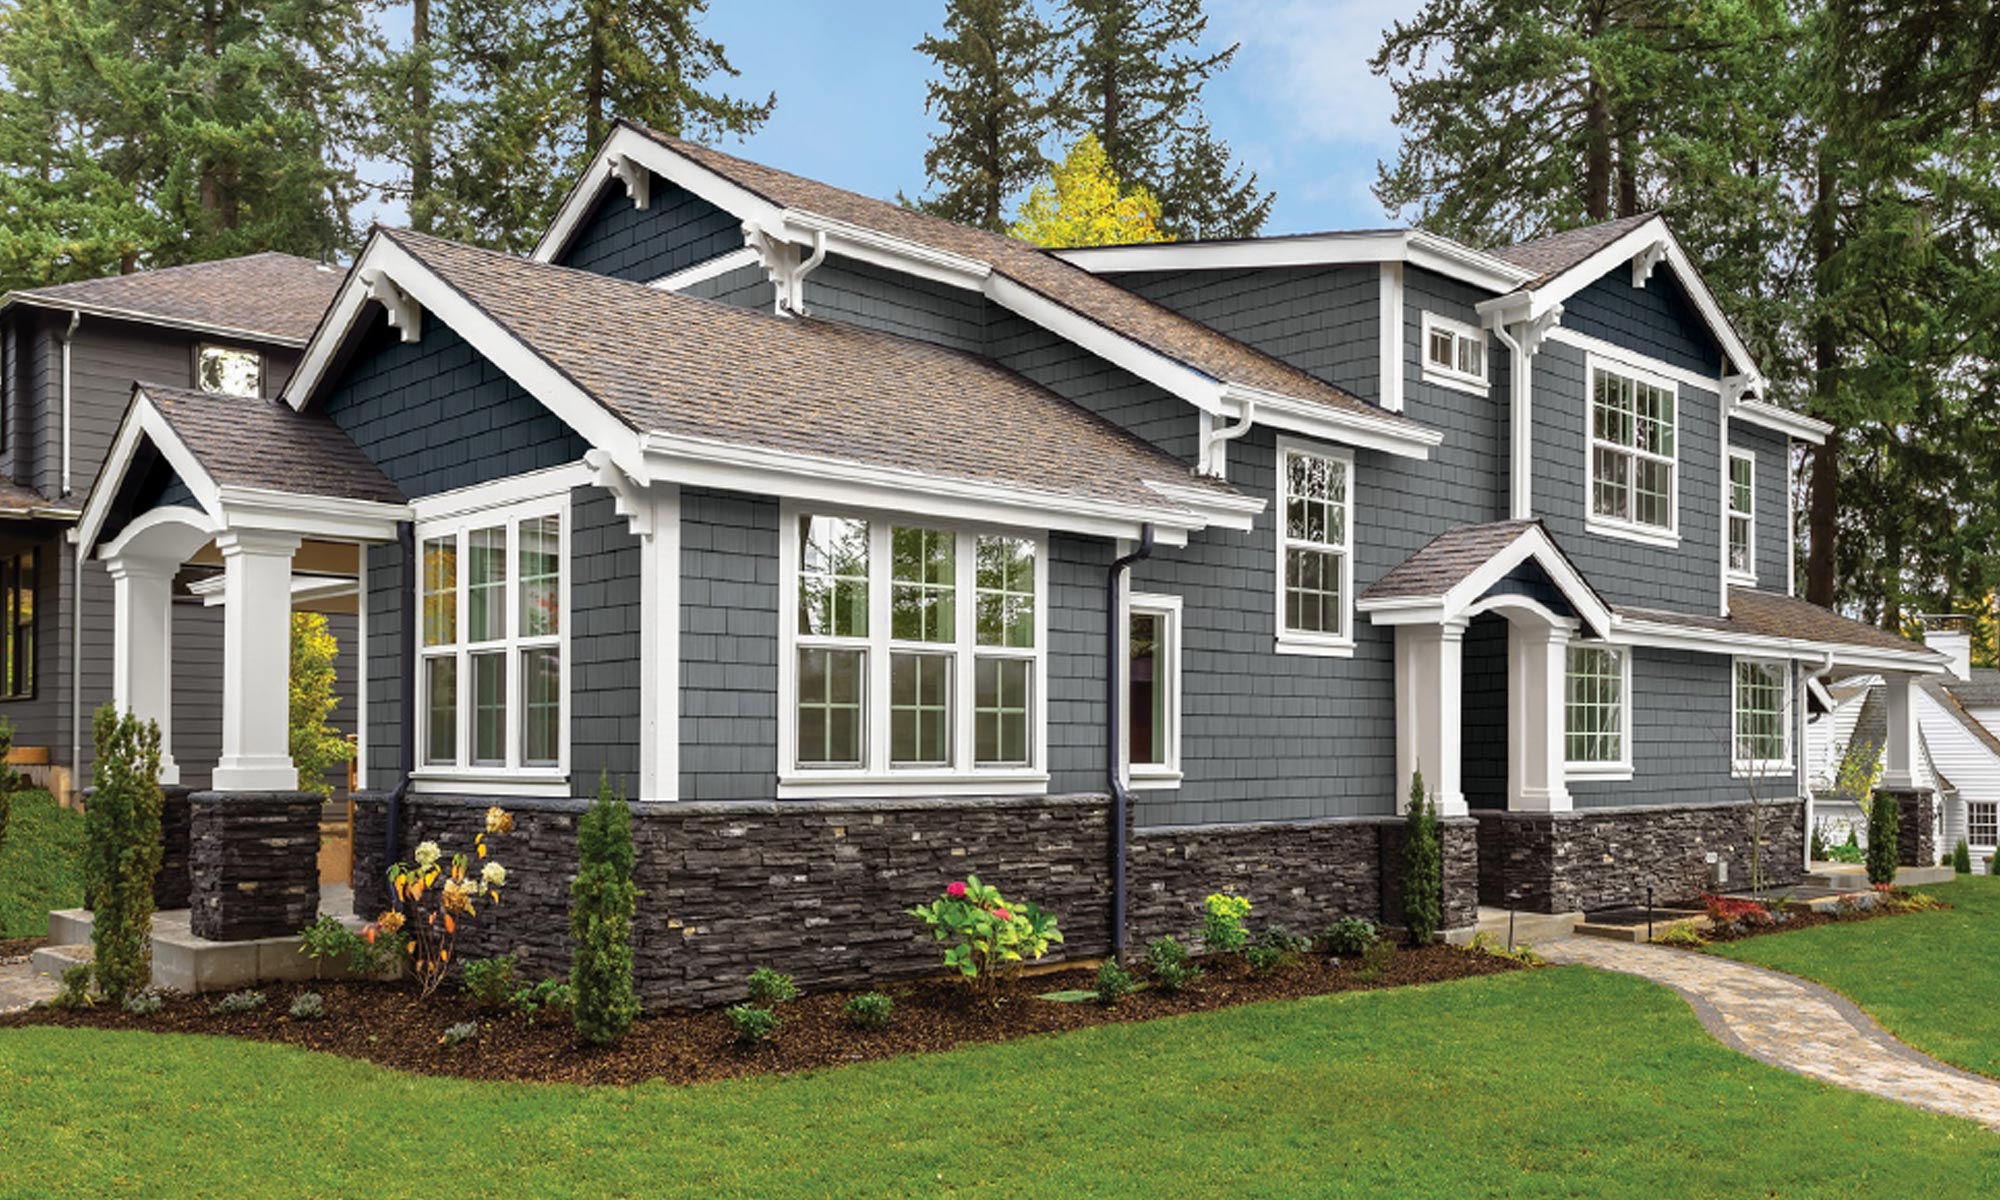
2. Choose the Right Paint for the Job
Once the trim is prepped, make sure you use a paint that is compatible with the trim material. For example, with Westlake Royal’s Kleer PVC Trim, use an acrylic latex paint for the best results; TruExterior poly-ash siding can be painted with any high-grade exterior paint per the paint manufacturer’s instructions.
Once you’ve figured out what type of paint is needed, the next step is choosing the right color. Selecting a paint color comes down to a number of factors, including the home’s style, current trends, and homeowner preferences. Check out our previous blog post for advice on making confident color choices.
Keep in mind that not all materials are suitable for all colors. For example, vinyl or PVC products painted in dark hues may absorb more heat, causing them to expand and contract. Using urethane construction adhesive along with mechanical fastening may help minimize this for Kleer trimboards. Conversely, TruExterior poly-ash trim, which has a higher level of dimensional stability, can be painted dark hues, even black.
3. Use Proper Exterior Trim Painting Technique
Whenever you dip your brush into the paint, be sure to fully immerse the bristles. This makes the project more efficient and spreads the paint out more evenly. When it’s time to reapply paint to the brush, avoid wiping it along the rim of the can. Instead, tap the brush on the inside of the paint can to lessen the risk of paint drips for a more polished look.
For the best appearance, apply the paint in long single strokes. It’s also a good idea to have a variety of brush sizes ready in case you encounter narrower surfaces or tight spots.
Finally, you’ll want to apply multiple coats to the exterior trim. Wait until the first coat is completely dry, then lightly sand it and begin a second coat.
Have questions about painting Kleer trim or TruExterior trim? Our customer service team is ready to help. Reach them here or by calling 800.521.8486.