
Whether to enhance the aesthetics of a home or give it a fresh look before selling, there are few things that offer an elevated look for a great price as well as beadboard.
While beadboard is most popular in Victorian and Craftsman styles (and those in between), it can be used to enhance just about any home as there’s a panel to fit most decors.
What Is Beadboard?
Beadboard is a paneling where each narrow plank is separated by a vertical groove and a small ridge or bump, also called a “bead.” Most commonly applied vertically on walls, the boards are typically trimmed out with horizontal molding to create a finished look. While people often use the term “wainscoting” and “beadboard” interchangeably, wainscoting refers broadly to decorative paneling, of which beadboard is just one type.
Historically, beadboard was made of wood. But advanced materials, like cellular PVC options from Royal® Trim & Mouldings, are becoming a preferred choice of contractors and homeowners looking for higher performance and low maintenance. For example, wood beadboard needs to be repainted every three to five years while acrylic paint on PVC beadboard can last upwards of 20 to 25 years; in addition, most cellular PVC trim comes manufactured in white, so it may not need to be painted at all depending on color preferences.

Where and How to Use Beadboard
Beadboard can be installed on both the interior and exterior of the home. You’ll commonly see it in mudrooms, saunas, pool roofs, accent walls, and under porch ceilings and soffits.
Inside the home
On the interior, narrower beadboard is often used to add character to the space as an accent wall or by applying whole-room wainscoting. The resulting look evokes a higher-end, traditional feel.
Most commonly, panels are applied in 32” to 36” shorter segments, but taller 54” to 56” installations are becoming more popular as a way to create an even bigger wow factor.
The thinner the paneling and more beading you have on a wall, the more ornate it tends to appear. Narrower paneling is ideal for smaller spaces such as bathrooms, hallways, and stairways.
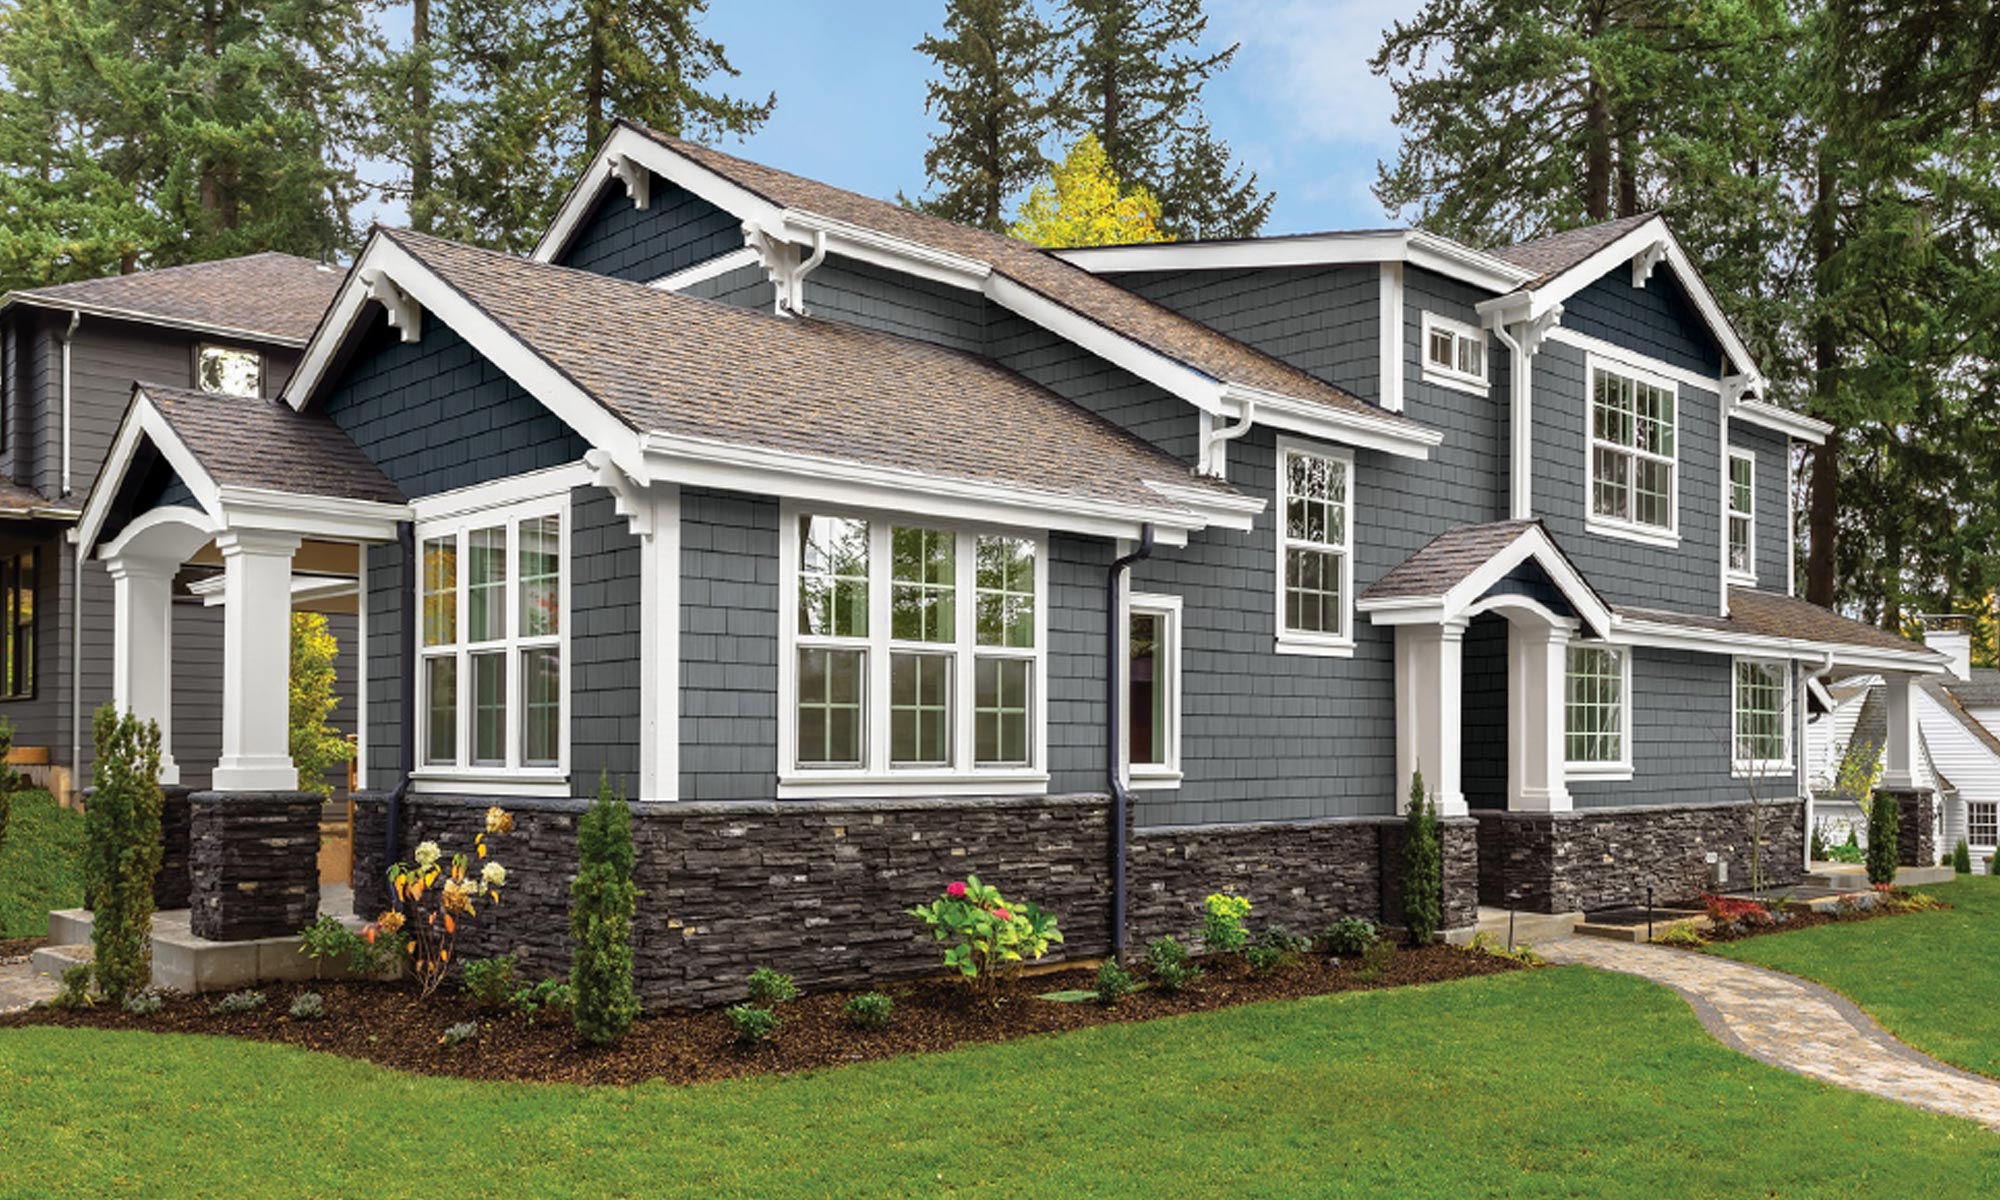
Outside the home
Beadboard paneling (or cladding with a similar appearance, such as nickel gap or shiplap) is an easy way to provide a more classic look in often overlooked areas of the exterior. Using a high-performance material, such as TruExterior, which is made with fly ash and polymers, delivers the look as well as resistance to warping, rotting, and insects.
Beadboard is most often found on porch ceilings to create a finished aesthetic as well as to hide leveling irregularities and in soffits with exposed rafters or enclosed built-up soffits.

Tips for Selecting and Using Beadboard
Beadboard is fairly straightforward to install, but keep these considerations in mind:
- Cost: Like other more decorative trim pieces, beadboard typically has a premium upfront cost. However, it also delivers a high-end look that can elevate the perceived value of the home. And low-maintenance products like cellular PVC can lower upkeep costs over time.
- Panel installation: Because beadboard usually comes in panels, it can cover more area and therefore can often be installed quicker. Just keep in mind that lining up the panels can be a bit tricky if the installer tries to move too quickly. Always pre-plan your layout from the center.
- Painting: Because of the texture of all the beading, painting beadboard may require attention to detail. If white is desired, opt for an unfinished white product like that from Royal Trim & Moulding. If color is specified, be sure to clean and prime the surface, opting for a high-quality primer to ensure the paint lasts for as long as possible; follow beadboard manufacturer instructions for paint type and any limitations on color. TruExterior comes pre-primed and ready to paint any color, including dark hues. A paint sprayer will create a smooth finish and get the most surface covered in the fastest time, but you’ll likely need to follow up with a brush to fill in the grooves.
To learn more, check out our idea gallery to see how others have used our panels in their homes.
Want more industry insights? Subscribe to our enewsletter!