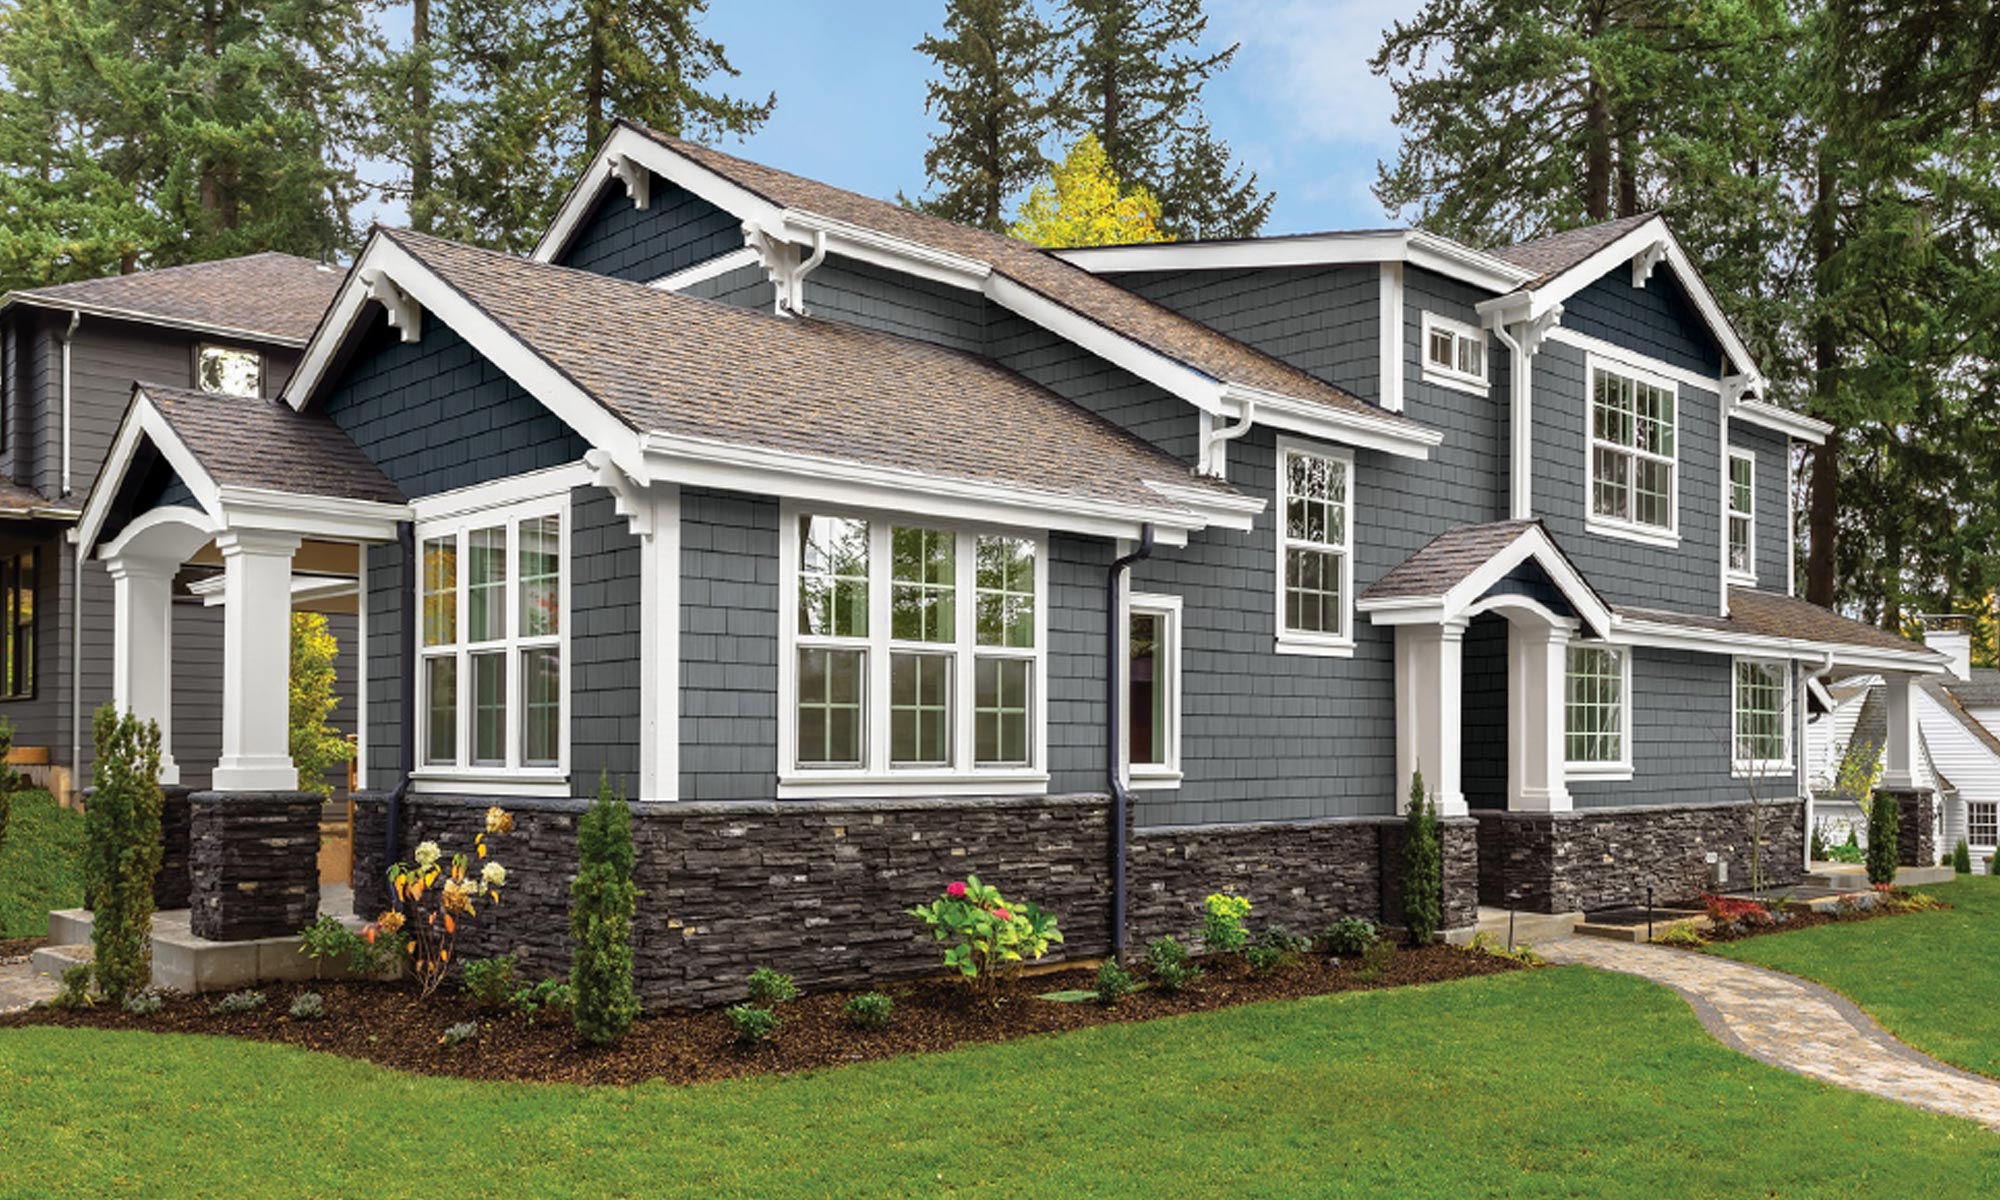
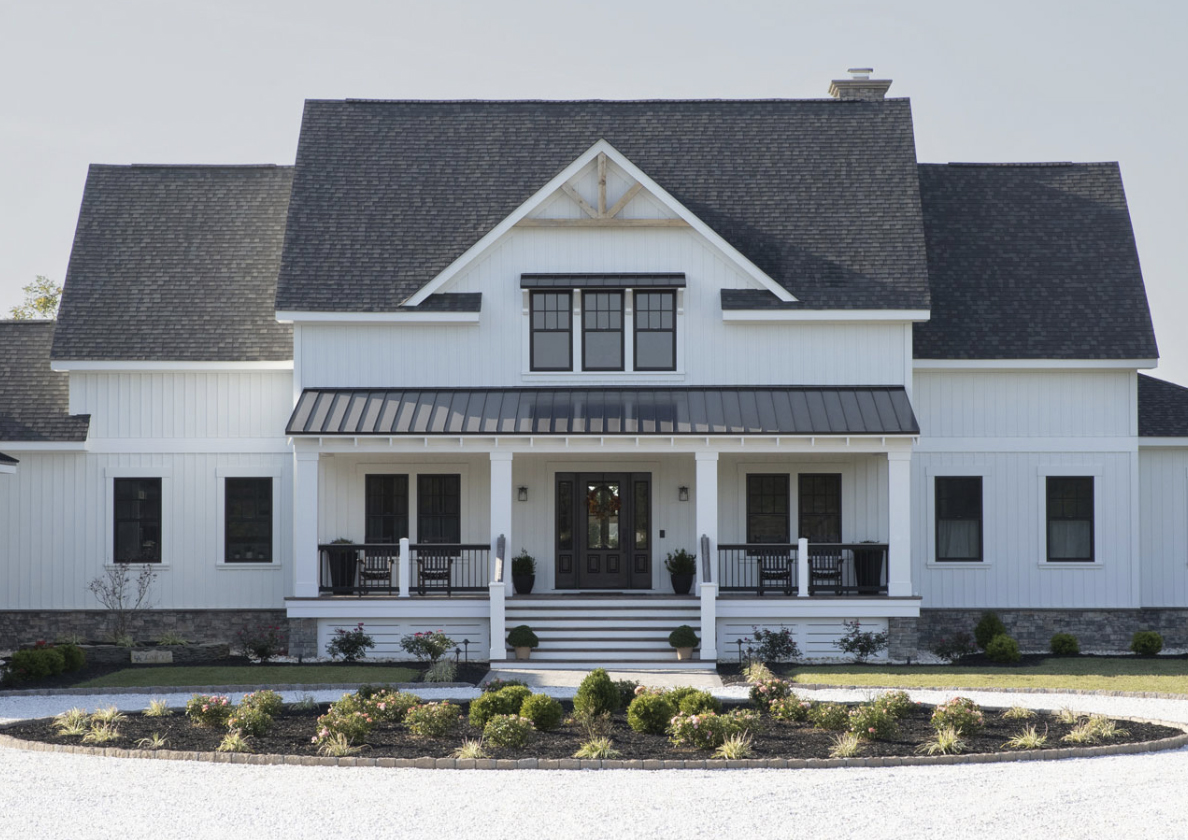
One of the biggest go-to trends in exteriors is board-and-batten siding. Due in part to the ongoing popularity of Modern Farmhouse styles, board-and-batten siding brings both charm and a modern edge, allowing some traditional designs to lean a bit more contemporary and fresh.
It’s also versatile: Apply board and batten to the full façade for a true Modern Farmhouse take, or use as an accent on a gable or bump out to add texture and dimension. For a nod to the style without the commitment, consider board-and-batten shutters in a bold color.

Extensive Board-and-Batten Options
The good news for builders and homeowners alike is that achieving board-and-batten looks is easy and accessible, with a range of options across materials and price points. Many traditional panel siding manufacturers offer board-and-batten profiles, combining authentic looks without the associated maintenance of wood. For example, Exterior Portfolio® Board & Batten vinyl siding features a distinctive vertical pattern profile that conveys the genuine curb appeal of real wood while delivering as a streamlined, contemporary accent. The siding features Chromatix™ technology that helps keep colors from fading. Celect® cellular composite siding offers the look alongside wind resistance up to 210 mph and a Kynar Aquatec coating for enhanced UV protection.
For styles calling for wider or customized spacing than a panel product can provide, it’s easy to create the board-and-batten look with trim, such as TruExterior poly-ash trim, which provides the look of wood alongside high performance and dimensional stability to stand up to extreme weather, ground contact, and insects.

Board-and-Batten Installation Considerations
Unlike traditional vinyl and aluminum panel installation, vinyl and aluminum board-and-batten profiles install vertically. Installation instructions may vary from product to product, so be sure to follow manufacturer instructions, including requirements or recommendations for water-resistant barriers. Installers will need to account for some expected expansion and contraction, so the nails should not be driven completely flush.
Pre-planning is important for board-and-batten styles—you can’t just start on one side and go across, otherwise the look may appear off-center or you may end up with a small sliver at the end. Find the wall center and plan your layout accordingly.
Creating Board and Batten Siding With Trim
For wider or custom looks, create the board-and-batten façade using TruExterior Trim. Here’s how:
• Due to the vertical installation, be sure to use a drainable housewrap between the siding and the wood sheathing to ensure moisture has a pathway to escape the wall cavity.
• Choose 1X, 5/8”, or 5/4” trim thickness. Which one is simply a preference for the homeowner and installer.
• For a traditional board-and-batten look, use 1×12 trimboard as the board and 1×3 trimboard as the batten.
• Find center on the wall and plan your layout to determine if it’s best to start with a batten or a board at that center point; you want to avoid having only a sliver of board when you reach the outer edges.
• Once you’ve chosen center board or center batten, start by installing a board first. If it’s a center board, mark the center of the wall, line up the board, and put it in place using 6D or 8D stainless steel or hot-dipped ring shank nails every 16” (and no less than 3/4” from the board edge) directly into the plywood or OSB.
• Install boards, moving away from center, leaving 3/4” of space between each board.
• After several boards are in place, chalk a single line 7/8” from the edge of the board left or right, which will designate the edge for the batten. This results in a 9-1/2” reveal between each batten.
• Apply a bead of caulk along each side of the batten or under each side of the batten.
• Install the battens using 6D or 8D stainless steel or hot-dipped nails every 16”.
• Repeat the process, moving outward from center.
Keep in mind that paying attention to your layout, and planning it out ahead of time, is important, particularly for small areas like gables. You want the surface to be as symmetrical as possible; if you have uneven board reveals on either side, it will be very noticeable, particularly on smaller surface areas.

